Sunday, February 10, 2013

Vintage Layouts (July to September)

Hi, Everyone,

Creating a complete album takes a lot more paper than even I imagined.  Just when you think you have enough paper for the entire project . . . you don't.   I am excited to offer you these complete albums for the extreme value of $168.  The only thing you need to buy is the Binder Photo Album itself.  All paper and embellishments are included and you will create stunning layouts and learn how to add a lot more embellished photos with plastic inserts.

There are 3 different themes:  Vintage, Shabby Chic, & Baby.

I am happy to show you some of the 50 pages in my "A Year in the Life" Vintage Album from July to September.  Enjoy!


Have fun creating!


Friday, February 8, 2013

Vintage Layouts (April to June)

Hi, Everyone,

. . . 50 pages.
Yes, there are 50 pages in total that are designed & embellished in my "A Year in the Life" Albums.
There are 3 different themes:  Vintage, Shabby Chic, & Baby.
When I create a scrapbook, I gather lots of papers that coordinate then lay the papers out so they flow smoothly from one to another.  Here are photos from the Vintage Album from April to June.  Enjoy!


See you tomorrow!

Thursday, February 7, 2013

A Year in the Life - Vintage Layouts (January to March)

Hi, Everyone,

I have been creating 3 Different Binder Albums for my new series called "A Year in the Life".
Create a Complete Scrapbook . . . 26 Layouts & 12 Inserts
All Paper & Inserts included . . . for $168
Take a peek at the Vintage Album from January to March!
(I only added photos to the cover page & January)


Join me for this Open Monthly Class
Work at Your Own Pace
Come when You Can during the year to Treasured Memories
A Saturday 5:30-9:30 p.m. . . or a Sunday 12-4 p.m.
Come on Any of the following Dates:

Feb 24. . . Mar 9, 17. . . Apr 13, 28. . . May 11, 26. . . Jun 8, 23. . .
Jul 13, 28. . . Aug 10, .25. . . Sep 14, 22. . . Oct 12, 27. . . Nov. 9, 24. . . Dec 14, 15

3 Different Paper Styles available
with 5 class spots each
Style 1: Vintage (Graphic 45, Tim Holtz)
Style 2: Shabby Chic (Kaiser Craft, My Mind‘s Eye)
Style 3: Baby (Graphic 45, FabScraps)
(All paper is pre-cut. Photo of each page. No written instructions)
Scrapbook all year for $168
You need to bring:  12x12" Binder Photo Album, scissors & adhesive


Monday, February 4, 2013

12 Cards of 2013 - Tim Holtz Style - February

Hi, Everyone,

Tim Holtz has now made his February tag from his 12 Tags of 2013 series.  This year I've decided to create cards rather than tags.  I am using kraft coloured cards made of corrugated cardboard getting inspiration fromTim's monthly tags & his book Compendium of Curiosities.

Have a look at February's card!


12 Cards of 2013
Tim Holtz style - February
February
s theme is Valentines & the Queen of Heats!
We will be playing with Embossing Folders, Dies, Stamps, Inks, Markers
& add Metal Screw Brads, Cash Keys, Decorator Pins & Chandelier Crystals
to create this beautiful February Card!
Join me at Treasured Memories
Sunday, February 10
1-3:00 p.m. $10

Supplies:Paper Piercer, Sand paper, Paper Distresser, Scissors, Ink Blending Tool
Distress Inks: Aged Mahogany, Walnut,
Distress Markers: Worn Lipstick, Tumbled Glass, Mustard Seed

Thursday, January 31, 2013

A Year in the Life

Hi, Everyone,
I have been very busy creating 12 two page layouts & 12 double-sided inserts for my latest year long project A Year in the Life. This is a cross between creating beautiful layouts & Becky Higgins' Project Life.
Becky Higgins created Project Life to scrapbook Daily
Ali Edwards created her version of Project Life to scrapbook Weekly
I created A Year in the Life to scrapbook Monthly

This is a fantastic project for those of you who would actually like to finish an album, work at your own pace, & have 1 on 1 instruction for your album.  You will create 12 stunning 2 page layouts & learn how to add more totally embellished photos using double-sided inserts.


A Year in the Life

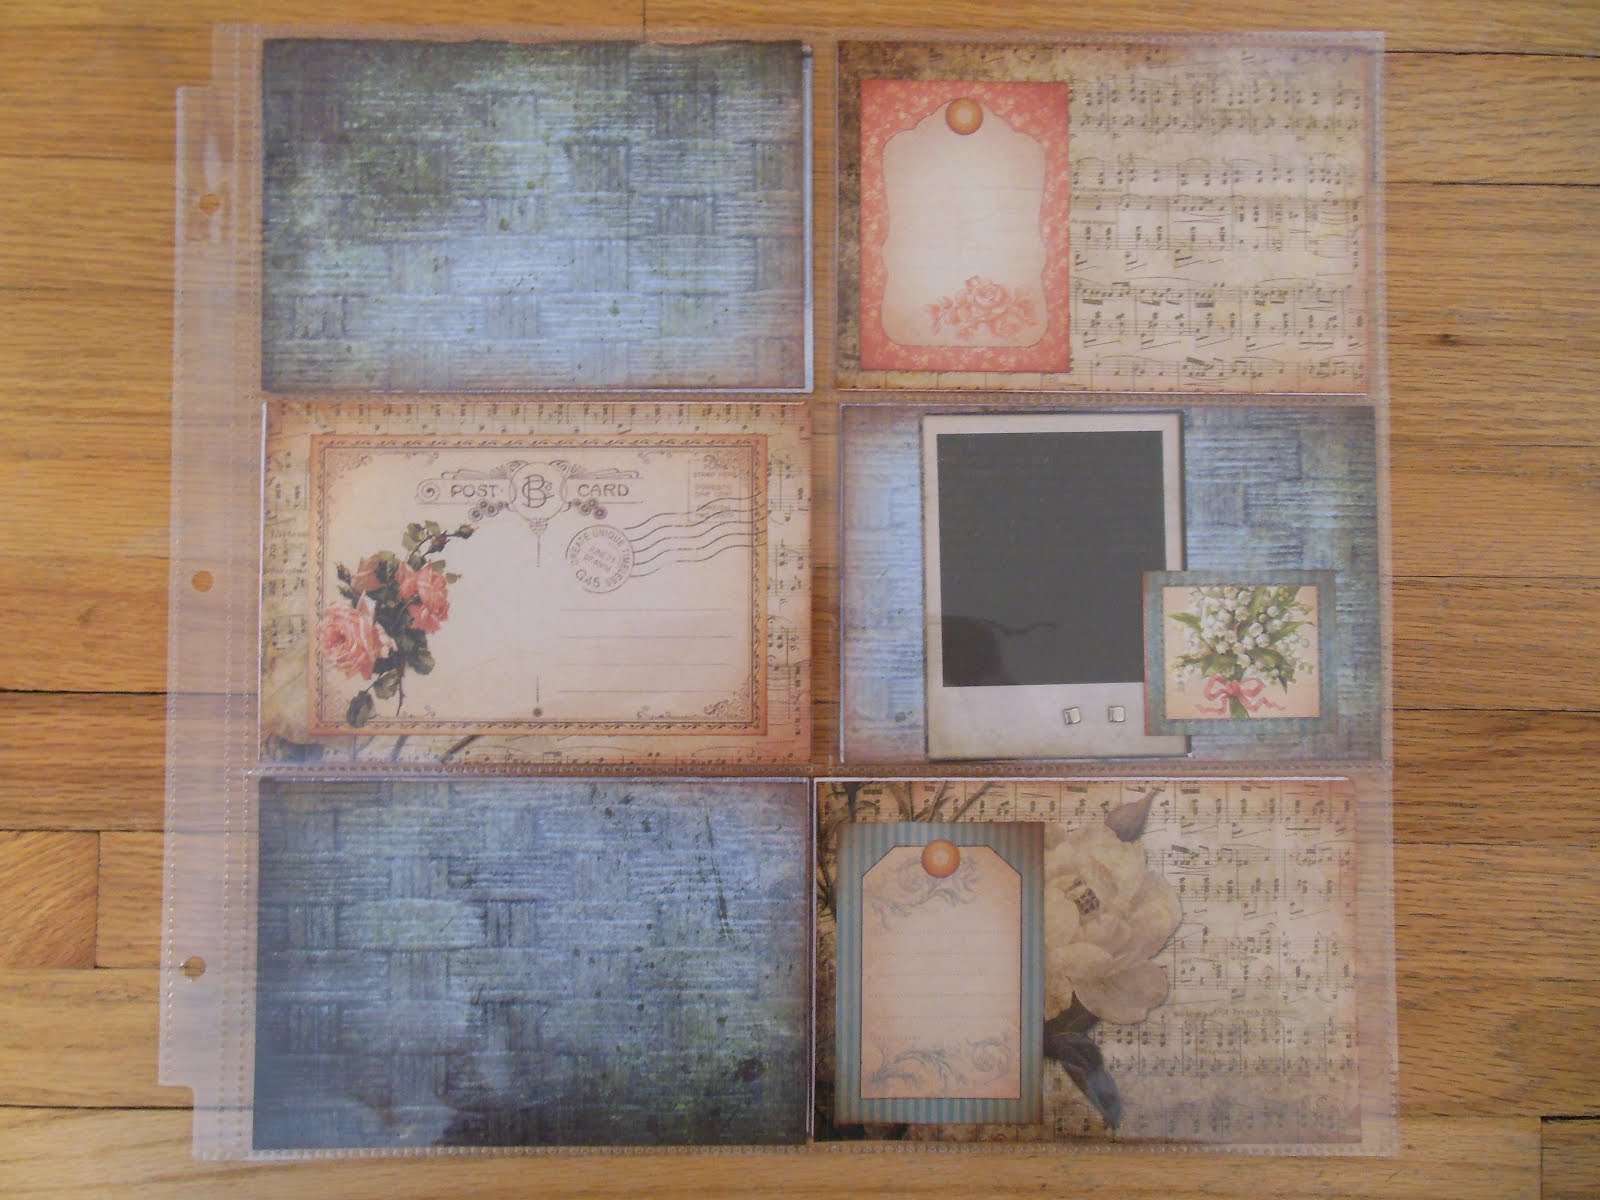
Create 12 Two-page layouts
& 12 double-sided inserts ALL for $168
(ie. $14 per two-page layout & double-sided insert totally embellished!)
. . . All you need is a 12x12" Binder Photo Album, paper trimmer & adhesive

An Open Class . . . For those of you who would actually like to finish an album,
work at your own pace & have 1 on 1 instruction for your album.
Bring your photos to class once a month, create stunning two-page layouts & learn how to
 add more totally embellished photos using a double-sided insert . . . for a totally Finished Album!

There will be 3 Paper Versions available with 5 class spots each.
Version 1:  Graphic 45, Tim Holtz & vintage papers (available starting Feb 9)
Version 2:  Kaiser Craft Forget-me-not papers (available starting Feb 24)
Version 3:  Baby vintage pink/blue/ivory papers (available starting Feb 24)
(All paper is pre-cut & separated. Kits will have a large photo of each page. No written instructions) 

Join me for this Open Monthly Class
A Saturday evening 5:30-9:30 p.m. or a Sunday afternoon 12-4 p.m.
on any of the following dates:
Feb 9, 24. . . Mar 9, 17. . . Apr 13, 28. . . May 11, 26. . . Jun 8, 23. . . Jul 13, 28. . .
Aug 10, 25. . . Sep 14, 22. . . Oct 12, 27. . . Nov 9, 24. . . Dec 14, 15

Phone Treasured Memories to Reserve your Version
A Year in the Life . . . Get Started Now!

Wednesday, January 30, 2013

Vintage Home Decor Tags 28, 29, 30, 31

Hi, Everyone,

Today I am showing you the last 4 Vintage Home Decor Tags. 

When you want to create a project made of several pieces & you want the eye to flow smoothly from piece to piece. . . one way to achieve cohesiveness is to use the same colour palette for all of the pieces.  All 31 of these Vintage Home Decor Tags were created to coordinate using shades of ivory, cream, sand, tan & brown with a sprinkling of black & white.  All 31 tags are different yet they all match.  Try this method the next time you create & see what you think.  It also makes the designing process much easier too.

Now for the tags!

Tag 28 highlights every single product used on the tag:  heavy crystal cardstock, wood grain paper, Tim Holtz house numbers, 7Gypsies metal sticky back edging, metal screw brads, 7Gypsies clips (used as hinges), Tim Holtz crystal paperclip, & the large metal brad (used as door handles).  Love those embellishments!
Tag 29 features an image printed onto sticky backed Canvas, attached to white corrugated cardboard, over a paper doily, then glued onto a tag.  The edges of the tag are dipped in embossing ink then Vintage Photo Distress Embossing power.  Distress embossing power has some silica particles that do not melt when heated which is what creates the "distressed" look.  After you heat set the powder remember to gently rub the excess powder off with your fingers.  This creates a great vintage look.

Tag 30 showcases clocks, watch parts & gears in all their glory.  The metal pieces are either attached with Fabri-tac or brads.  (I have used Fabri-tac for the past 10 years to hold all of my heavy metal embellishments vertically on canvases & other altered art pieces, none of which have fallen apart yet.  Embellishments that I have hot-glued or glossy accented on have dropped my heavy embellishments over time or when bumped.  That is why I swear by Fabri-tac.)  

Tag 31 compares the same products used in different orders to create a different look.  Compare the edges: On the edges of the tag I applied Walnut Distress Ink first, then Brass Distress Stain, then UTEE.  On the edges of the popped dragonfly image I applied Brass distress Stain first, then Walnut Distress Ink, then UTEE.  Distress Ink is formulated to react with moisture so it blends/smudges when the Distress Stain is applied over top even after the Distress Ink is dry!
Have fun creating!