Showing posts with label Layouts. Show all posts

Tuesday, October 18, 2016

Vintage Piano Scroll Layout

Hi, Everyone,

"Always & Forever my grandsons you'll be . . ."

Why limit yourself to scrapbook layouts in albums?  To me, layouts are pieces of art.  They can be permanent or interchangeable pieces of art (because we only have so much space).

The piece below is mounted on a vintage piano scroll and is permanent.  There is no reason why I could not have made it interchangeable so I could swap out or change the layout monthly or as often as I wanted to.


Below are closeup photos of the piano scroll from top to bottom.
I have incorporated my love of embroidery into this piece.  The title "Always & Forever" was hand stitched on ivory aida cloth.  

The letters "a" and "f" were created from the same paper I used in the layout.

*******
Years ago I purchased a package of chipboard alphabets a-z that came on 2 12x12" sheets.  The patterned paper was so ugly, but I loved the font style so I bought them.  In this layout, I traced the 2 letters onto the paper I liked and cut them out with scissors.  By doing this, you can create your own letters from any paper you wish to match your project.
*******


The other writing was also hand stitched onto vintage linen and aida cloth.


I usually mount my photos on black cardstock to make them stand out, but this time I chose black tags folded over and secured with metal photo anchors and screw brads.  There are also metal tabs and hearts for each grandson:
1st  Austin
2nd  Simon
3rd  Sawyer


I chose a scenic patterned paper for the bottom of the scroll. The diamond/square pattern was cut along the design, and all other papers were torn and glued onto the scroll with sookwang tape.  It is expensive compared to other tapes, but it actually lasts the test of time (16 years and counting).


After the layout was completed, I took a black Sharpie Pen and drew some hand stitching along the edges of the torn/cut paper to move your eye through the layout.

I love how this piece turned out, so if you get a chance check it out in person at Treasured Memories in Edmonton.


Have fun creating!


Sunday, April 10, 2016

G45 "Steampunk Spells" Collage P.1

Hi, Everyone,

It's been quite a while since I created a collage.  I create collages for the pure joy of displaying the paper and embellishments, to go back and lookout at them in pure admiration.

I have paper, lots and lots of paper.  Because I like creating books, I am going to showcase the Graphic 45 Steampunk Spells in this wooden binder with leather accents that I found at a consignment store.  What a find! It appears to have never been used.  The pages are heavy black cardstock trimmed in leather with metal corners! Yes, it Was a find!  I have added Tim Holtz and 7 Gypsies papers and embellishments to the collage as well.  Oh, do you see the G45 packaging?

I absolutely love how Page 1 turned out.  Have a look!


This collage took me about one hour to dream up and create at a leisure pace.  I hope you enjoy it.

Have fun creating!

Saturday, January 16, 2016

Project Life Layouts

Hi, Everyone,

For me, Project Life is scrapbooking in tiny sections.  Creating little pieces of art in small spaces, then adding my photos later.   This way I can create several pages at a time and they all flow together.

First I choose a theme, then colours for the album.  I'm making artful memories of my grandson for me.  I like white & gold, and since I'm using photos of my grandson I chose blue/teal/turquoise for my accent colours.

I mix & match my pocket pages combining different sizes and brands like Project Life and Snap pages, or anything on sale.  I mix the papers too, cutting down 12x12" and 6x6" papers, as well as using any gold foil papers I can get my hands on.

I'd like to show you some of the Project Life Layouts I created so far.


For embellishments, I cut up 12x12" velum and acetate papers, used washi tape, inked and embossed chipboard and wood pieces.  To close the shaker pockets, I sealed them with washi tape.

I love how they turned out.

Have fun creating!


Sunday, September 13, 2015

My Projects from ArtVenture Canada

Hi, Everyone,

If you like Prima products and ever get the opportunity to go to ArtVenture, I highly recommend it.  I absolutely love the 5 projects I completed in class.  Have a look:

The 1st project was a 12x12" mixed media layout in a Prima frame.
We tinted Gel Medium with their various mica powders and micro beads then scraped them through stencils on one of their new pattern papers.  In all the classes, Prima's designers used cardboard to pop up papers and photos rather than pop-dots.  We were given the new appliqué trims, wooden shapes, and many packages of flowers to decorate with.


The 2nd project used the new Prima Paintable Papers and Wooden Home Decor Boards.
We tinted Modelling Paste with their various mica powders then scraped them through stencils to create a textured background on paper glued to the wooden board with Modelling Paste.  The Tea Cup Printable was painted with a paint brush using their Colour Bloom Sprays.  If you look real close you can see the 3 glass jewels dangling from the tea cup in the centre of the board.  I love the Metal Book Plate underneath the saucer.


The 3rd project was an Altered Telephone.
We aged the metal phone and the Wings (behind the photo) even more using Clear Gesso and many layers of Colour Bloom Sprays.  Again there were endless amounts of flowers, leaves and butterflies to decorate with.  If you look real close, you will see the coiled wire lights wrapped around the photo.  The battery operated light is hidden behind the flowers inside the phone. 


The 4th project was a Girly Grunge Layout.
We used lots of Colour Bloom Sprays, stamps and glitter.  Again we finished off with Gel Medium and micro beads.  Prima has a lot of different colours and sizes of beads to choose from.


. . . and the 5th project was a beautiful Mini Gatefold Album
which I forgot to photograph before taking them all to Treasured Memories to display.
So if you want a peek, you need to head down to the store.   I promise you it's well worth the trip.

In the meantime,
have fun creating!


Saturday, September 5, 2015

On my way to Prima ART Venture!

Hi, Everyone,

I attended Prima's ART Venture in California 2 years ago and thoroughly enjoyed it on the other side of the table as a student.

After doing this post, I'm off to Prima ART Venture which is being held in Edmonton this summer.  Below are the 5 projects being taught by 3 Prima Instructors.  It's going to be fun getting a chance to create these great projects & seeing what is in our "goodie bags".   I will offer these finished projects to be displayed at Treasured Memories for all of you to look at up close.  Frank's Album, Sharon's Altered Phone, & Adrienne's Grunge Layout are all stunning.  Check them out when you get a chance.


Have fun creating!


Saturday, June 20, 2015

Prima Layout - Butterfly Collection

Hi, Everyone,

Prima's Butterfly Collection is absolutely beautiful - the colours, the butterflies, the shades of woodgrain!  I love how some of the papers already have book text collaged on randomly as part of the pattern.

On the layout below I layered 5 different patterned papers.  They were all so pretty I had to use some of each.  If you look at the top right fairy & bottom left butterfly, you will see that I fussy cut around the wings & tucked the paper underneath.  I applied moulding paste through a honeycomb stencil, heat set it, then traced around each honeycomb with a Fine Sharpie Pen.

With my Fineline Applicator filled with 1/2 Black Fluid Acrylic Paint & 1/2 Fluid Medium I drew around the book text already collaged on the paper.  Continuing with the Fineline Applicator to accentuate the photo (my favourite one of my husband & I) I doodled & added script writing around the photo mat.


Have fun creating!

Sunday, April 26, 2015

Two Layouts from the Prima Baby Collection

Hi, Everyone,

The new baby line from Prima is a soft & delicate nursery rhyme theme using pastel yellow, green & red.  The colours can be used for either girls or boys.  When I do baby layouts I do not ink my edges, I either tear the the paper or distress the edges with scissors.  This leaves a white outline around the paper which creates a soft look to the layout.

The Martha Stewart eyelet corner & edge punches are perfect for baby layouts.  I seem to use it a lot.

On the layout below, I started with white cardstock which was sprayed with the Lindy's Stamp Gang spray "Grab a Guy Gold".  My photos never pick up the beautiful shimmer of that spray.  It's one of my favourites.   I've rediscovered hand needle work & will be using it a lot on my projects.  I hand drew some swirls on the background, pierced holes on the swirls every 1/8", then used a variegated ivory embroidery floss to stitch the design.  For the layout, I've used 4 different papers from the Prima baby collection.  I've also used scraps of leftover packaging:  the yellow vertical coil torn strip, the white torn sewn strips, & the vertical cut corrugated  cardboard strip.  I also sewed through the coil strip & on the patterned papers.  I finished my collage with some Prima wooden pieces from the baby collection, a hand cut white corrugated heart, a sewn tiny tag & a canvas Prim Flower with leaves.  The last thing I do is outline the layout & the page with a fine Sharpie Pen.  I'm very pleased with this layout.


Next is another layout from the same Prima baby collection.
This time I started with a patterned piece of paper as my background.  Then for my layout I used 3 different pieces of paper from the baby line, this time cutting the paper & distressing the edges with scissors again leaving a clean soft look to the edges.  For the collage I added a black Graphic 45 large tag, a piece of corrugated cardboard & a vintage hankie folded in half.  I then took a 12x12" stencil, laid it over the layout & gently applied modelling paste at a diagonal across the layout.  Once that was dry I took the same  Lindy's Stamp Gang spray "Grab a Guy Gold" & sprayed over the modelling paste & heat set it.  To finish off the collage I added a polkadot canvas piece, a clipboard die cut, a polkadot canvas piece, my title torn from the Prima collection, hand sewn the rippled ribbon then glued on a Prima canvas flower with leaves.   I hand drew some stitches extending out from the collage & along 2 edges, pierced holes on the stitching every 1/8", then used a variegated ivory embroidery floss to stitch the design.  (Yes I've used this photo of little boy before, but his red T-shirt matched the red title I was using & he's so cute I couldn't resist.)


Have fun creating!


Thursday, April 23, 2015

12 x 12" Monogram Letters

Hi, Everyone,

Creating with 12 x 12" Monogram Letters is a great way to Title.
Each letter is a unique standalone graphic.  I like the clean black & white image.
To make the double page spread, I kept the black & white background letting the photo bring in the colour.  Have a look at the layout below.


Next is a closeup of the second page.
The edges of the photo & layout have been distressed with scissors.
For the background I applied drywall mesh tape, used clear embossing ink & white embossing powder (to create the writing, blotches & hand to the upper left & lower right of the photo), & ran modelling paste through a metal grate stencil.  Once dry I attached a paper filmstrip, wooden ruler, metal screw brads, metal wrench, hammer & spring.  The photo is popped.


This is a closeup of the first page.
The edges of the layout have been distressed with scissors.
The background is untouched because it comes like this & is amazing.
To create the title I used letter buttons again keeping with the black & white theme, added metal screw brads & a metal drawer pull.  I absolutely love metal!


These 12 x 12" Monogram Letter Pages & ~2" Buttons are Treasured Memories exclusives created by Daryl Benson.  Next time you are at the store, check out these letters & my layout. 


Have fun creating!


Friday, August 1, 2014

Vintage - Colour Resist

Hi, Everyone,

Today I'd like to show you that you can do vintage not only in black, brown & ivory . . . but you can do vintage in colour.  Yes colour!

Look at the layout I did below.


I started with a Prima Resist Canvas Sheet.  Love the polka-dots.  I sprayed the Canvas Sheet with one of Lindy's Stamp Gang teal sprays then used a baby wipe to lightly remove the teal spray from the resist polka-dots.  Next I took a Prima Resist sticky back Edging Sheet & sprayed it with one of Lindy's Stamp Gang golden yellow sprays, again using a baby wipe to lightly remove the golden spray from the resist lace edging.  Then I cut a piece from the Newsprint Canvas Sheet with the black Resist, placed a Circle Stencil over top, sprayed that golden colour on top, then lightly removed the golden spray from the black resist.  It was 31 degrees outside when I created this layout, so I just let all the canvas pieces dry in the hot sun.  Boy did they dry fast.

To assemble the layout I used Liquitex matt gel medium & layered the following elements:
Canvas Resist Newsprint piece, Canvas Resist Lace Trims & scraps from Lace Trims;
Vintage Photo (adopted great-grandmother from antique store) hankey, ribbon & lace;
Printed Frame, Mesh tape, screw brads, metal gears, clock hands;
Prima Ruler Paper & packaging;
Tim Holtz butterfly & hinge die cuts;
Treasured Memories Instant Collections Package containing:
     TM Exclusive Printed Tag, black tag, black ribbon;
     G45 paper, Prima paper, journalling paper;
     vintage domino, vintage clothes pin, vintage wooden ruler inch, vintage buttons; &
     Tim Holtz metal clock, heart keyhole.
   
To tie the collage together I dabbed white paint through a splatter stencil.

Check out the selection of Canvas Resist sheets & this Vintage Colour layout the next time you are at Treasured Memories.
* I will be creating New Exclusive Instant Collections packages during the next few weeks so stay tuned to their blog for the reveal!

Have fun creating!


Sunday, July 6, 2014

Dusty Attic Double Embossed

Hi, Everyone,

Dusty Attic has incredibly detailed chipboard pieces to enhance any project.
Have a look at the 1st Vintage layout I created using 3 different packages of their die cuts.  The 2nd & 3rd layouts will follow in separate posts.  This easily could have been a Canvas, an Art Journal Cover, an Altered Box, or even a Card.


These are the chipboard pieces I used:
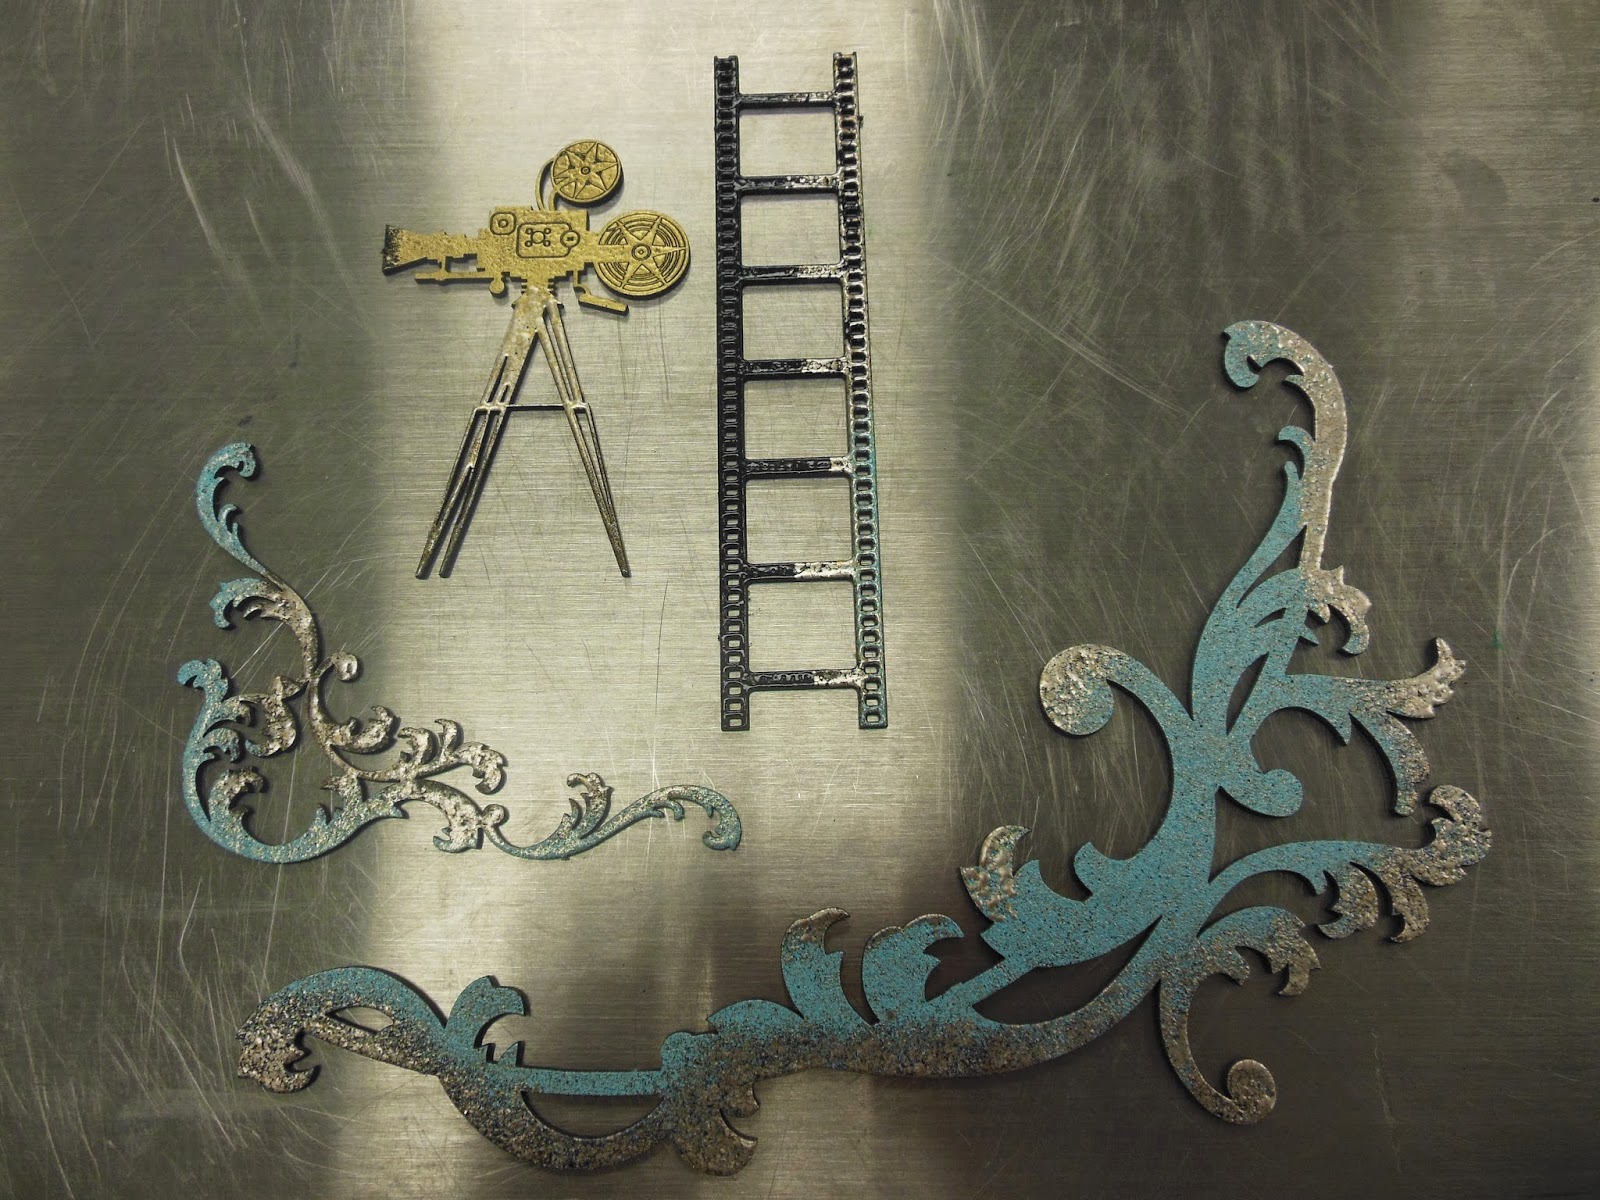
Baroque Frame set circle, Vintage Camera small, Filmstrips small.


I used 4 different Embossing Powders on the chipboard pieces:
Zing Black, Ranger Ancient Gold Princess Gold,  Ranger Antiquities Turquoise, Stampendous Aged Silver.  I cut apart the Baroque Frame set & used 2 pieces.


 I love how the Turquoise & Aged Silver look underwater Patina!


Glossy Accents is the best adhesive for gluing clear items to your projects.  You do not see the glue through the glass.


Here I used one of Daryl's Vintage Monocles you can purchase at Treasured Memories.


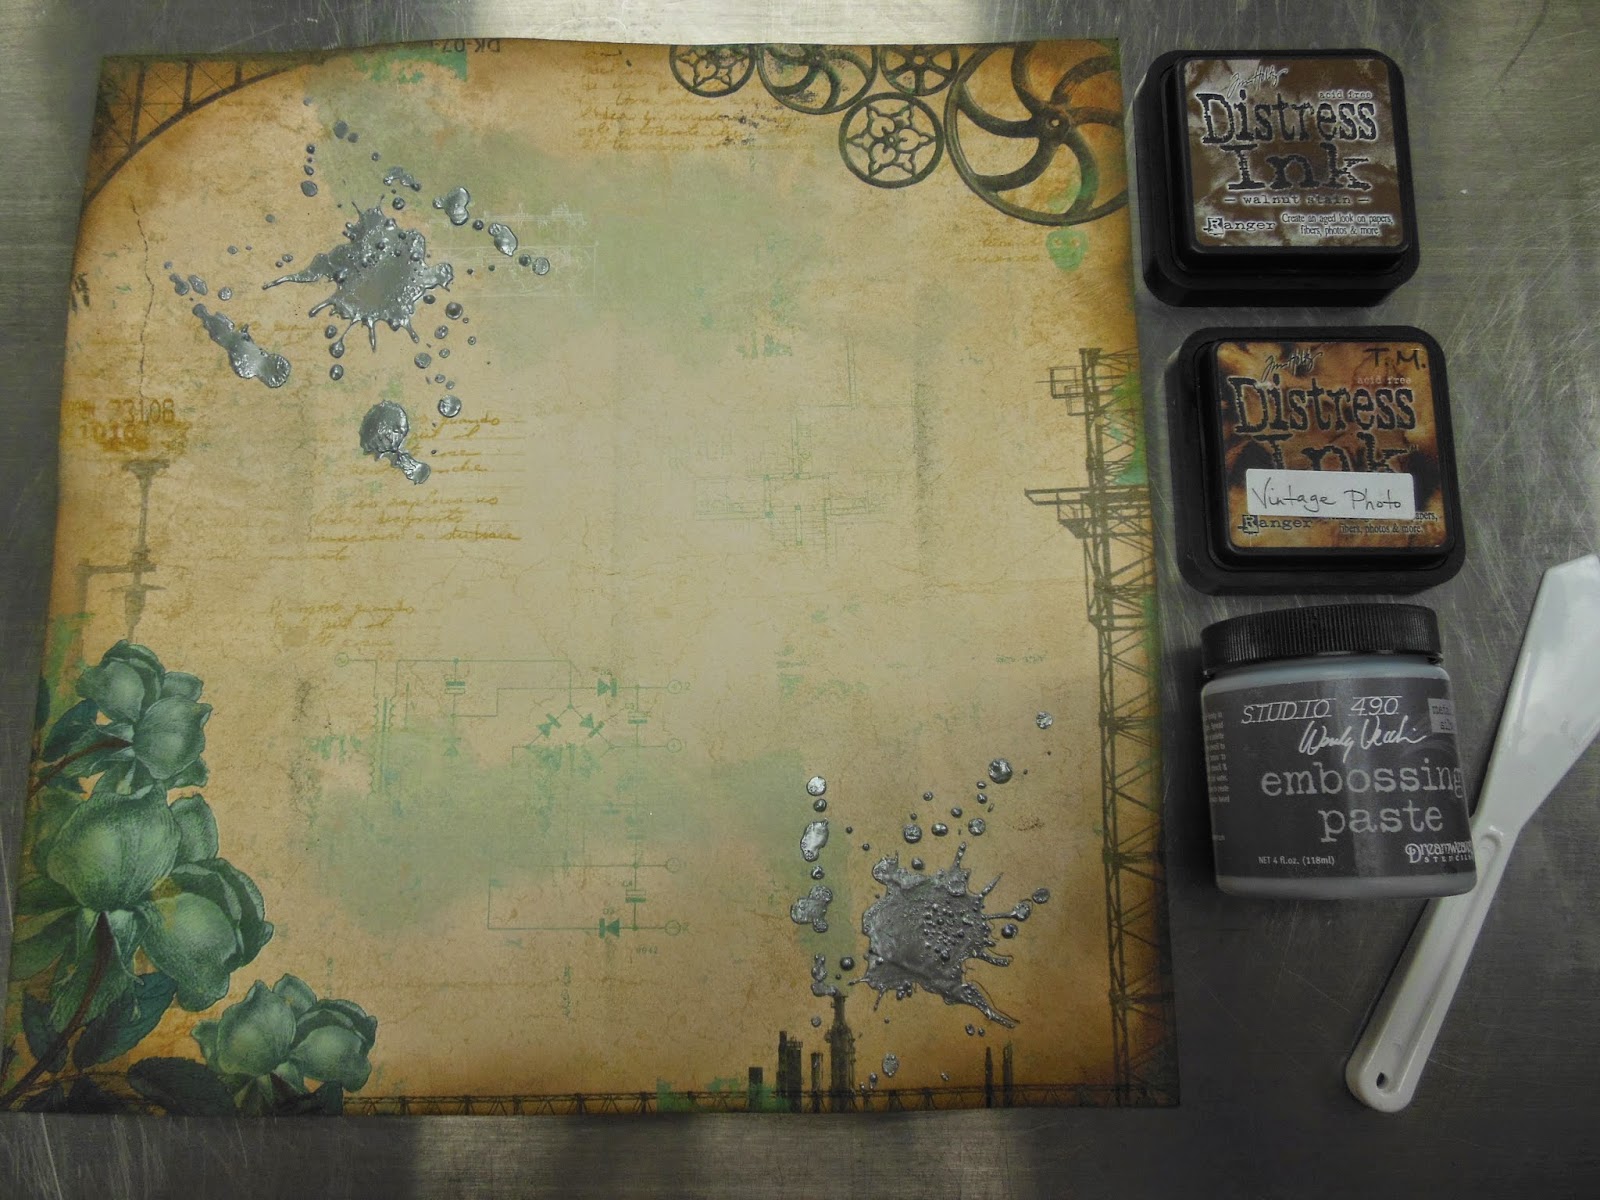
I started off with a piece of paper from BoBunny, which is beautiful enough on its own.


The edges of the paper were inked with Vintage Photo & Walnut Distress Inks.  Wendy Vecchi Metallic Silver Embossing Paste was applied through Tim Holtz Splatters Stencil then heat set.  I always encourage the embossing paste to bubble because I love the look.


With the same Splatters Stencil, I rubbed Walnut Ink in the opposite corners.


This is the layout all put together.  The only thing that is not popped with foam pop dots is the Eye Chart.  Look at the corners of the layout.  They are embossed with Aged Silver embossing powder.
I absolutely LOVE it!


Have fun creating!


Friday, February 7, 2014

Filmstrip Layout (on Steroids)

Hi, Everyone,

Since my Apple update 2 weeks ago, my computer settings have had to be reset every day.  This has caused some computer errors & I have had to do a changed re-post.

Below is a 3D layout I created using the new "Art of Life" paper by Kaiser Kraft.  I also used Embossing Paste to add texture to the background.  As well, all the flowers & leaves are handmade with canvas & burlap.

One of the Prima classes I took in California was taught by Frank Garcia.   He made a photo pull-back by using jute to pull back paper to reveal a photo.   I loved that photo pull-back idea so much that I asked Frank if I could use the photo pull-back idea in a future class of mine.  He said yes & asked that I give him credit for the idea.  So Frank here you go, *Photo-pull backs inspired by Frank Garcia*.  All other design aspects of this layout are from my own imagination.

I of course, like to include metal to all my projects, so I have added Tim Holtz clips to the pull-back before adding a heavier twine.  The metal really adds a lot & brings more attention to the pull-back.  Yes we all get inspiration from others, pinterest, or blogs . . . & we add our own spin on it to make it different, giving credit where credit is due.

Take a look at the layout I created.


Love the embellishments, handmade flowers, & lots of metal 
(monocle, key, token, gears, clock hands, pen nib, buckle, ruler).

The black Embossing Paste is amazing.

Filmstrip Layout
(on steroids)

Sunday, March 9
12 - 4 p.m.
$39

Class Description:
We will be creating this Filmstrip Layout (on steroids) with Kaiser Kraft's "Art of Life" Collection papers which are absolutely gorgeous!  Wendy Vecchi's Embossing Paste & Tim Holtz Splatter Stencil frames our photo & showcases the burlap, canvas & metal embellishments.  This is definitely a head turning piece!

Photo pull-backs inspired by Frank Garcia.  All other design aspects of this layout are from my own imagination.

Please Bring:  4x4" photo, 1/2" Scor-tape, paper trimmer, scissors, foam pop-dots, paper piercer/awl, Sepia Ink (or Vintage Photo), dauber, heat gun, Fabri-tac/E6000 glue

To sign up for the class, please phone Treasured Memories at 780-414-1540 to reserve your spot.


Have fun creating!