Sunday, August 31, 2014

Rest in Peace Mom

It is with great sadness that I announce the passing of my mother-in-law, Yvette Aurore Sundby.
She passed away peacefully in her sleep after fighting a long 12 year battle with Alzheimer's.
Yvette is now at peace.
My friend, my confidant, I will miss you deeply.
Rest in peace Mom.
I love you.


. . . until we meet again . . .

Your "Little Girl" Kathleen


Tuesday, August 12, 2014

"Young Artists" - Pigs Can Fly!

Hi, Everyone,
Hope you all are enjoying that Absolutely Gorgeous Hot 30 degree weather outside!
We pay good money to travel to southern destinations to bake in the sun.
I have a few days this week to create, so first up is my next "Young Artists Class", Pigs Can Fly.  Have a look . . .

“Young Artists”
***** DISTRESS  PAINTS *****
Sunday, August 24

Children (5+)   1-3 p.m.
Adults     3-5 p.m.
$20 ea.

  DSCN6686
DSCN6687

Class Description:  “Pigs Can Fly”
Children & Adults will learn to create with the reactive properties of Distress Paints using Stencils, Fine Black Markers, background stamps & cut out pieces to create two pages for your Art Journal.  We will be using  Kraft coloured paper as our base page this time.

Please Bring:  Art Journal (fussy cutting scissors, Distress Paints, Scotch Quick-Drying Glue, & Fine Black markers if you don’t want to share mine); Everything except the Art Journal will be provided.
Please phone Treasured Memories at 780-414-1540 to sign up & reserve your spot.

Have fun creating!


Friday, August 1, 2014

Vintage - Colour Resist

Hi, Everyone,

Today I'd like to show you that you can do vintage not only in black, brown & ivory . . . but you can do vintage in colour.  Yes colour!

Look at the layout I did below.


I started with a Prima Resist Canvas Sheet.  Love the polka-dots.  I sprayed the Canvas Sheet with one of Lindy's Stamp Gang teal sprays then used a baby wipe to lightly remove the teal spray from the resist polka-dots.  Next I took a Prima Resist sticky back Edging Sheet & sprayed it with one of Lindy's Stamp Gang golden yellow sprays, again using a baby wipe to lightly remove the golden spray from the resist lace edging.  Then I cut a piece from the Newsprint Canvas Sheet with the black Resist, placed a Circle Stencil over top, sprayed that golden colour on top, then lightly removed the golden spray from the black resist.  It was 31 degrees outside when I created this layout, so I just let all the canvas pieces dry in the hot sun.  Boy did they dry fast.

To assemble the layout I used Liquitex matt gel medium & layered the following elements:
Canvas Resist Newsprint piece, Canvas Resist Lace Trims & scraps from Lace Trims;
Vintage Photo (adopted great-grandmother from antique store) hankey, ribbon & lace;
Printed Frame, Mesh tape, screw brads, metal gears, clock hands;
Prima Ruler Paper & packaging;
Tim Holtz butterfly & hinge die cuts;
Treasured Memories Instant Collections Package containing:
     TM Exclusive Printed Tag, black tag, black ribbon;
     G45 paper, Prima paper, journalling paper;
     vintage domino, vintage clothes pin, vintage wooden ruler inch, vintage buttons; &
     Tim Holtz metal clock, heart keyhole.
   
To tie the collage together I dabbed white paint through a splatter stencil.

Check out the selection of Canvas Resist sheets & this Vintage Colour layout the next time you are at Treasured Memories.
* I will be creating New Exclusive Instant Collections packages during the next few weeks so stay tuned to their blog for the reveal!

Have fun creating!


Saturday, July 12, 2014

Alcohol Inks & the New Dina Wakley Stamps

Hi, Everyone,
I absolutely LOVE the New Dina Wakley Stamps!
They really pop on Alcohol Ink backgrounds created on Ranger Specialty Stamping paper.  Come see for yourself & create these 3 stunning pages you will be very proud to put in your Art Journal, on that Altered Art project, or  on that fabulous Card! 


"Young Artists”
***** ALCOHOL INKS *****
Sunday, July 27

Children (5+)   1-3 p.m.
Adults     3-5 p.m.
$20 ea.

Class Description:
Children & Adults will learn to create with Alcohol Inks along with Dina Wakley’s NEW stamps, collage elements & Fine Black Markers to create 2 or 3  pages for your Art Journal.  This will be the start or a continuation of your own Art portfolio.

Please Bring:  small fine cutting scissors, Alcohol Inks & a Fine Black marker if you don’t want to share mine.
Everything  Including Specialty Stamping paper will be provided.

Please sign up at Treasured Memories 780-414-1540 to reserve your spot.

Have fun creating!

Sunday, July 6, 2014

Dusty Attic Double Embossed

Hi, Everyone,

Dusty Attic has incredibly detailed chipboard pieces to enhance any project.
Have a look at the 1st Vintage layout I created using 3 different packages of their die cuts.  The 2nd & 3rd layouts will follow in separate posts.  This easily could have been a Canvas, an Art Journal Cover, an Altered Box, or even a Card.


These are the chipboard pieces I used:
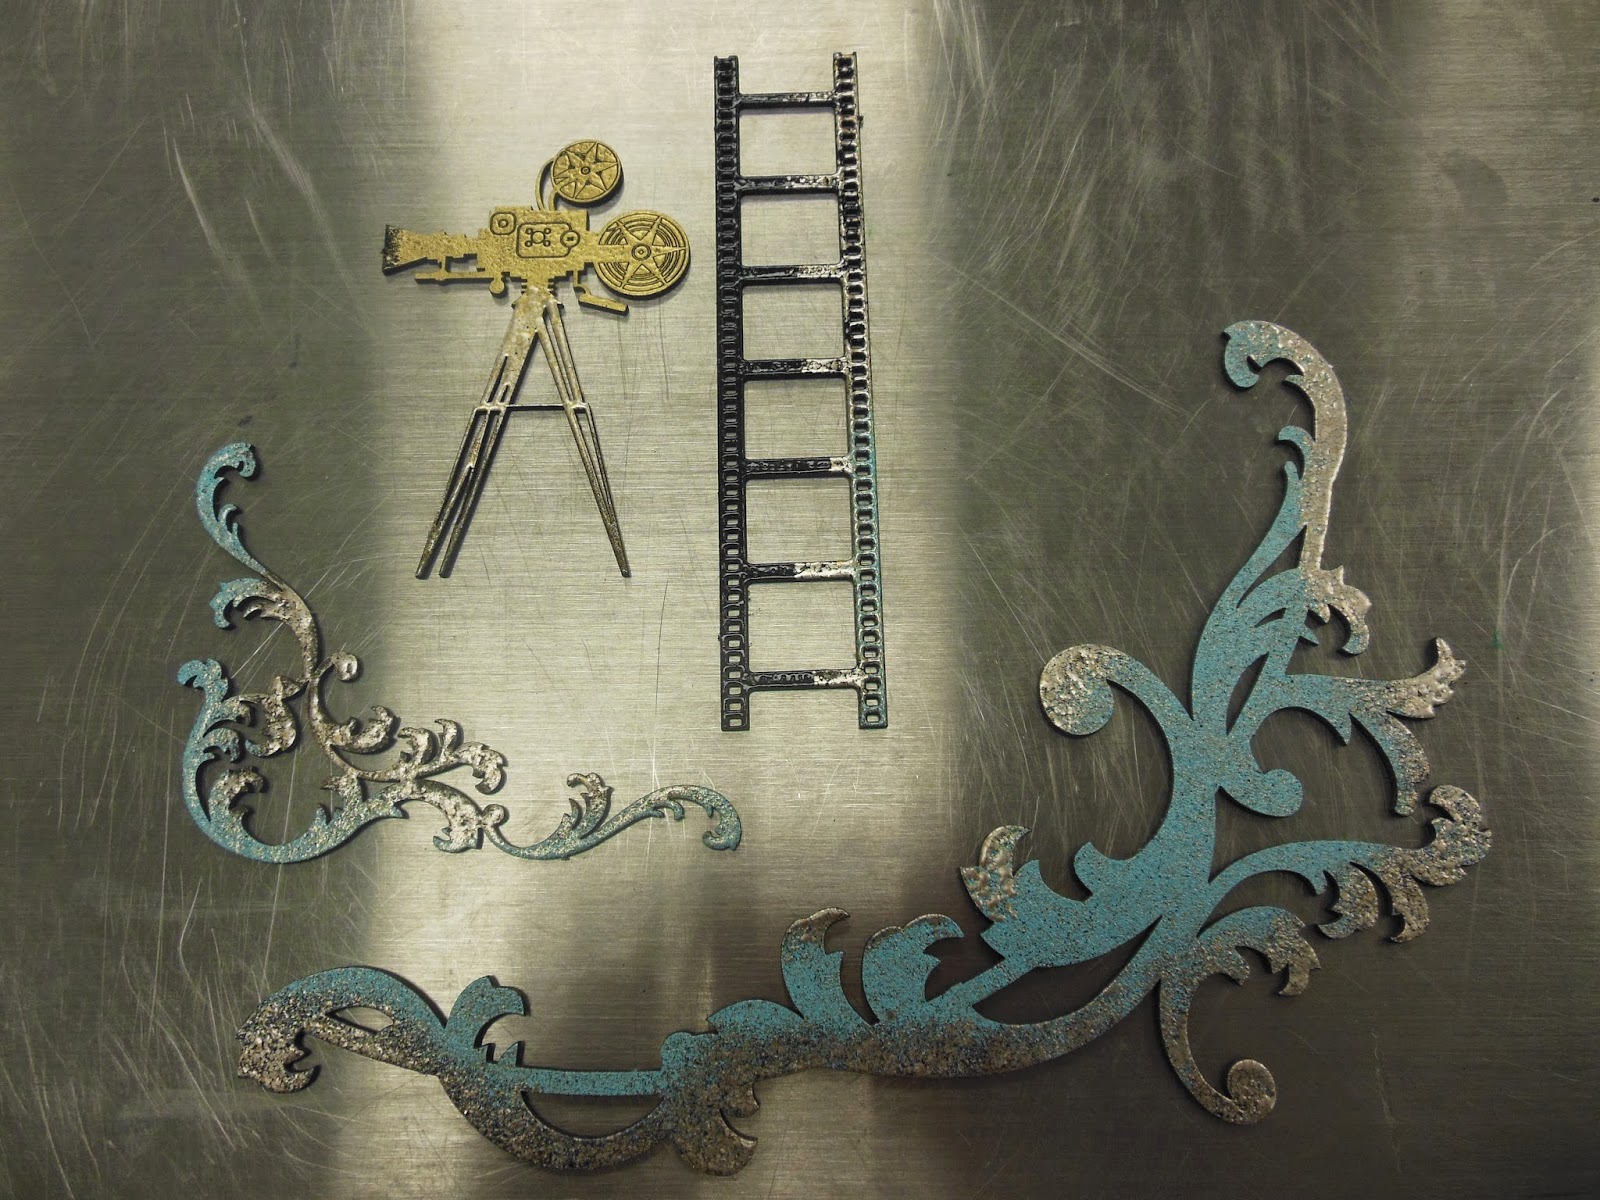
Baroque Frame set circle, Vintage Camera small, Filmstrips small.


I used 4 different Embossing Powders on the chipboard pieces:
Zing Black, Ranger Ancient Gold Princess Gold,  Ranger Antiquities Turquoise, Stampendous Aged Silver.  I cut apart the Baroque Frame set & used 2 pieces.


 I love how the Turquoise & Aged Silver look underwater Patina!


Glossy Accents is the best adhesive for gluing clear items to your projects.  You do not see the glue through the glass.


Here I used one of Daryl's Vintage Monocles you can purchase at Treasured Memories.


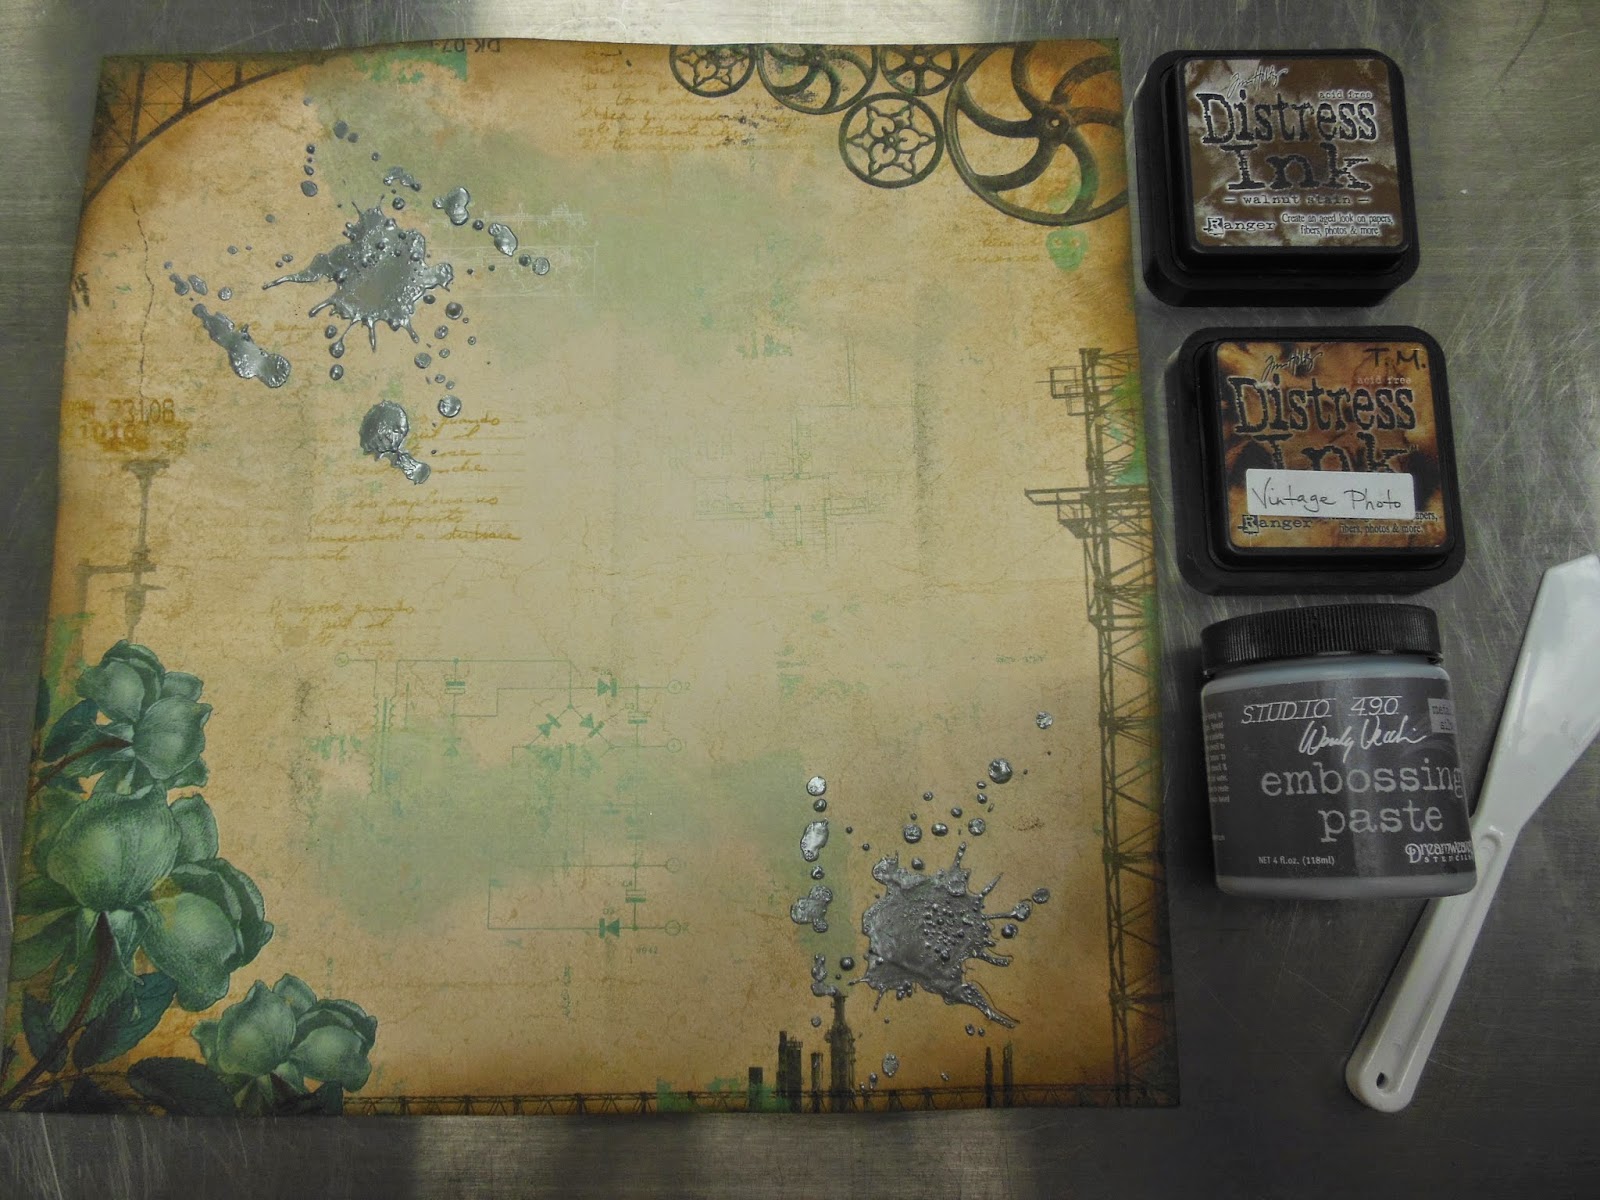
I started off with a piece of paper from BoBunny, which is beautiful enough on its own.


The edges of the paper were inked with Vintage Photo & Walnut Distress Inks.  Wendy Vecchi Metallic Silver Embossing Paste was applied through Tim Holtz Splatters Stencil then heat set.  I always encourage the embossing paste to bubble because I love the look.


With the same Splatters Stencil, I rubbed Walnut Ink in the opposite corners.


This is the layout all put together.  The only thing that is not popped with foam pop dots is the Eye Chart.  Look at the corners of the layout.  They are embossed with Aged Silver embossing powder.
I absolutely LOVE it!


Have fun creating!


Monday, June 23, 2014

This One's for You, JOE!

Hi, Everyone,

What a fun Young Artists Class yesterday!
The kids were very energetic . . . & full of questions.  Especially Mr.
Mr. Joe that is, who always has to leave before I take my photos of the class.
Joe is so enthusiastic & inquisitive & his art is beautiful.
Mr., this one's for you!  You finally made it into one of my photos!  It is fun having you in my class.  I am very proud of the amazing art you create.

We were blotting with Distress Stains & the kids had a blast.  They accented their pages with various colours of washi tape & a funny "oops!" stamp.

I absolutely love Jaena!  (If I misspelled your name, I'm sorry.)  Jaena is fun & has a fantastic sense of humour.  Her love of colour speaks volumes in her art.  I am very proud of the stunning art she creates! 


Yes my little princess, Zoe, is wearing her crown!  She is a sassy little girl with a mind all her own.    There are no rules in Zoe's art . . . other than having fun & being original.  I am very proud of the unique art she creates!

Teaching children & adults to create & allowing their imagination to break free on their pages is so rewarding.  My Young Artists & my Young Artists at Heart all warm my heart & bring me such joy.
Thanks to each & every one of you.

Have fun creating!


Friday, June 20, 2014

Creating with Colour

Hi, Everyone,
Creating with Colour!  Now that's Very outside my vintage box.  My vintage monochromatic colour scheme box that is.  I took a one day Colour Wow class with Dina Wakley & discovered how important the Colour Wheel is to creating, especially if you don't want mud.  My Young Artists like bright & fun . . . my ladies like vintage.

Memorizing the Colour Wheel or having one at your fingertips is key.  I won't ever create without one now.  What I've come to realize is that by referring to the Colour Wheel, your art will pop.

I like my backgrounds to be calm so my focal point pops.  In order to do that, the background needs to either be either:
1.  Monochromatic (varying shades of the same colour); or
2.  Analogous (neighbouring colours on the colour wheel)
with some white area.  Then in order for the focal point to pop, it must be Complementary (opposites on the colour wheel).  By following this method, your art will pop every single time, guaranteed.

*(If you've ever created a piece of art & something just isn't right, it's probably that your colours are not in sink with one another.  Pull out the colour wheel & have a look.)*

I purchased Dina Wakley's book, Art Journal Freedom, How to Journal Creatively with Color & Composition.  It is a good read & very informative.

Have a look at the Easel Canvas I am creating for Treasured Memories Kid's Camp this July & August.  It's not finished yet, but I absolutely LOVE it!  Thank you Dina Wakley for opening my eyes & allowing colour into my art.

The canvas is gessoed then partially collaged with antique book paper (you will never take the vintage out of this girl).  I added mesh tape to create texture, then Micro Bead Texture Gel through a large triangle stencil, then Modelling Paste through a small triangle stencil.
For the background, I chose neighbouring colours on the colour wheel (orange & yellow-orange sprays).
Take a look at the Micro Bead Texture Gel.  Isn't it great!
For the bird focal point, I chose the opposites on the colour wheel (turquoise, blue, & violet) highlighting the bottom of the bird with their close opposite (yellow).  The bird & words are also popped by shading underneath them.  Don't you love the mesh tape & Modelling Paste & especially the wire branch (of course every piece of mine must have metal embellishments)!

I purchased Dina Wakley's Scribble Birds stamps & Collaged Hearts stamps & see myself using them a lot in the future.

Once this piece is finished, I will show you the final result.

Have fun creating!